Timelapse Specialist
Whenever you film a timelapse, there is always an element of luck involved. There are so many variable that can be out of your control that can make or break your shot. That said, there are still plenty of things you can do to put luck on your side. This is the INP Media guide to filming the best timelapse possible.
- Get the right kit – Because most videos go out at 1080 HD, most cameras will shoot stills at well above this, so any DLSR should be up to the job. At INP Media we tend to use the excellent Canon 5D mkIV for our timelapses. The in-built intervalometer function means no extra cables, and the new Canon LP-E6N batteries easily last for a few hours. We also have a dummy battery to D-Tap which allows us to run the camera on a long lasting V-Lock battery which will keep the camera powered for a couple of days when you need the extra life, and then for even longer projects we have mains adapters to run the cameras for a few months.
- Lenses – you can obviously shoot a timelapse using any lens that fits your camera, but a good quality lens will also make a big difference. Wherever possible we always try and use a prime lens rather than a zoom. Particularly when shooting wide angles, the edges of a shot on a zoom lens always look a little soft and distorted, so using a prime lens creates a much sharper and nicer looking image. We have a full set of Canon Cine Primes, which have a beautiful look to them, although these are pricey and are fairly heavy as well, so if we need something lighter and more discreet we will use the Canon L Series primes.
- Filters and grads – These are essential for your timelapse, and make all the difference giving you a lot more flexibility on the settings you can shoot (which I’ll come on to a little later in this article), but also ensuring that your sky isn’t completely over exposed (or your subject under exposed). In our kit bag we keep a set of 0.3, 0.6 and 0.9 ND grads in both hard and soft edge, which we use depending on what it is we’re shooting. It also seems very basic, but make sure that you clean both your grads and you lenses before you start shooting! A tiny spec on one bit of glass can completely ruin the shot!
- Grip – Always consider how you’re going to mount your camera. Unless you’re shooting a hyperlapse, you want your camera to be completely solid and not move at all. Where possible I always like to try and use a K-Clamp mounted to a fixed pole, but obviously this isn’t always possible. Having a solid tripod also works well, but be sure to keep everyone well away from it, as even the slightest knock will ruin the shot. A suction mount on a piece of glass can also work, but make sure your suction mount is suitably heavy duty enough to hold the weight of your DSLR for a prolonged period of time.
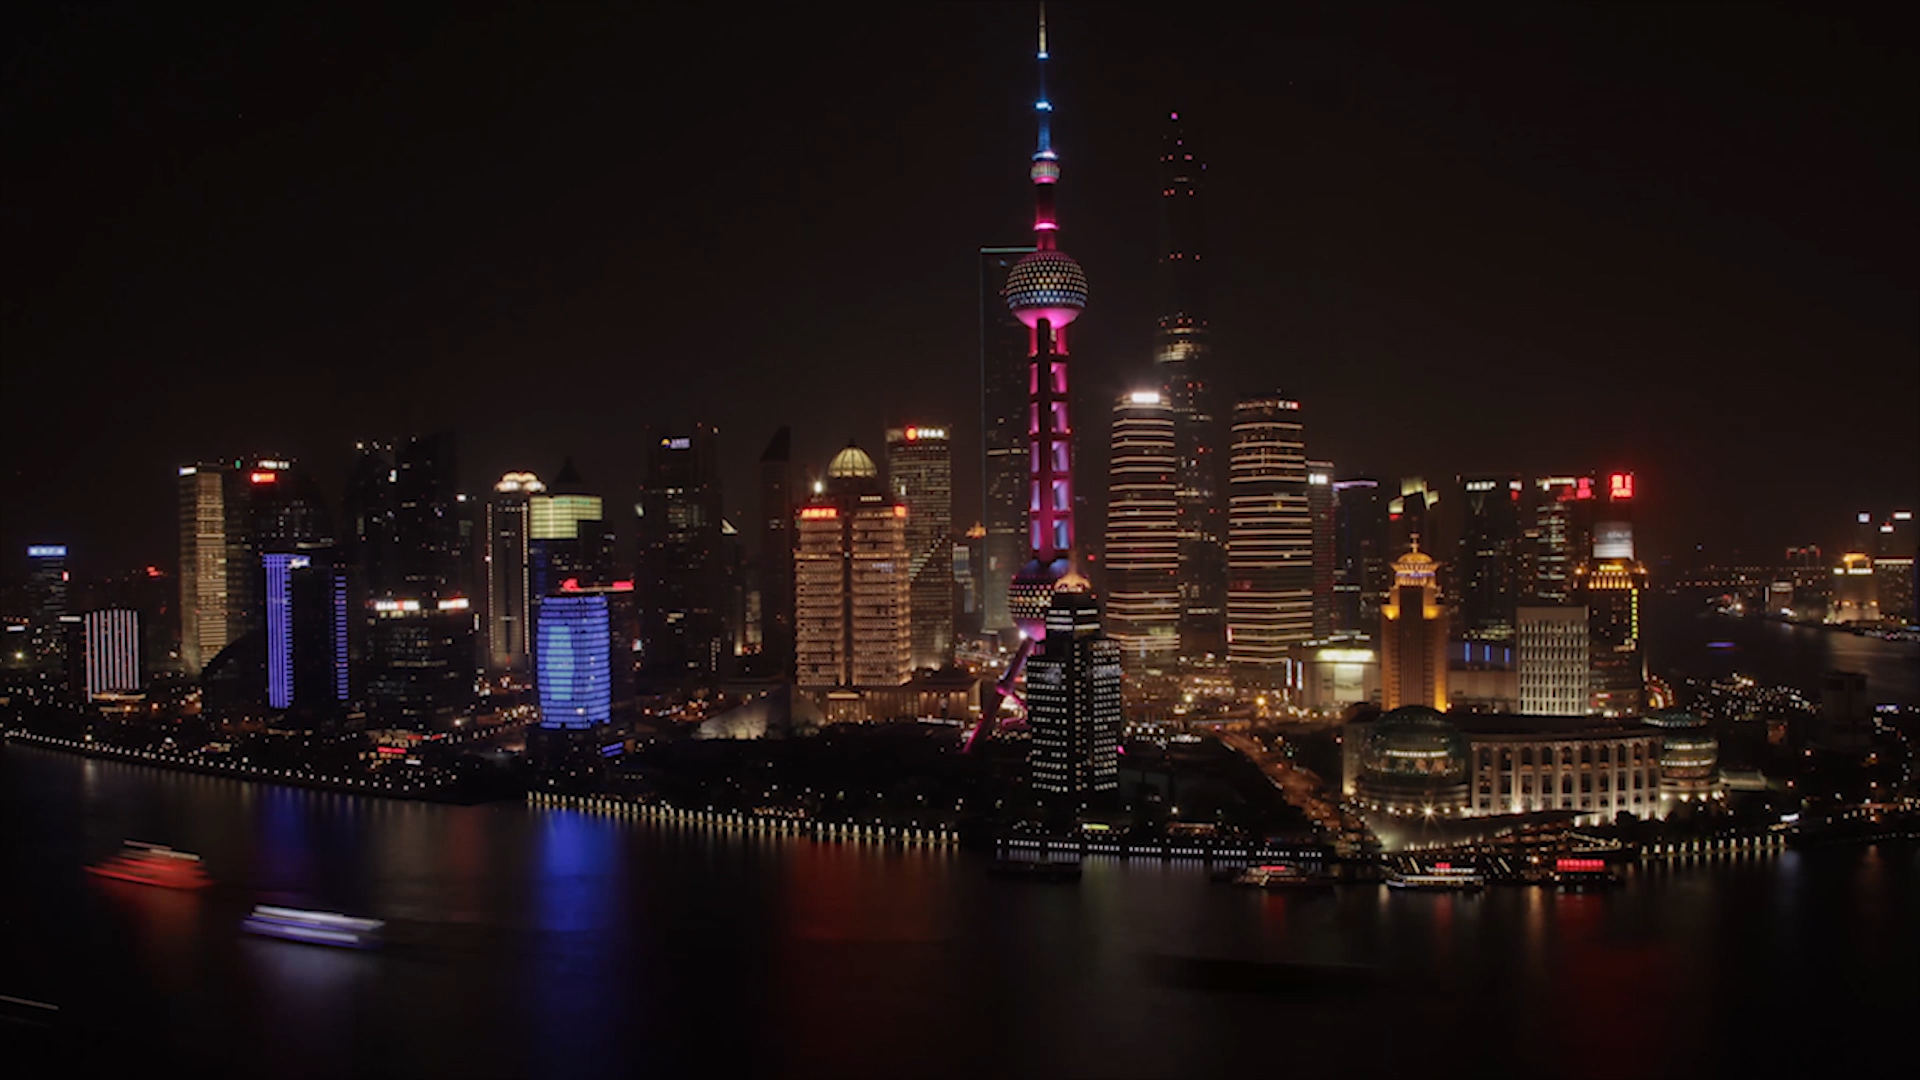
- Camera settings – The settings you use on your camera will have a dramatic difference on the style of your timelapse. Firstly, I always shoot RAW + Small JPG. The small JPG allows a very quick and basic build of the timelapse in the edit suite to make sure that the shot has worked, and is suitable for the edit. If it works, and is worth creating, our editors can then spend a bit more time on the RAW files to get the best possible image. You never know what the weather will do, and if the sun comes out or a heavy cloud darkens the landscape, having the RAW files allow you to rescue what could otherwise be an unusable shot. For camera settings, this is completely dependent on the shot you want to get, and how much time you want to spend getting it. If you’re shooting a day to night timelapse, I always think the nicest setting is to switch your camera to ‘Av’ mode (Aperture Priority Mode). This will automatically change the settings of the shutter speed depending on the light available. What this means is that as the sun is setting and the light gets darker and darker, the sensor allows more and more light in to the camera, giving you a much longer timelapse. However, as the cameras are now so good, you can be shooting in almost complete darkness, and the camera will still make it look like the sun has barely set! To counteract this, when I get to a point where I feel I’ve got enough out of the timelapse, I very carefully (making sure I don’t knock the camera at all) switch the mode over to ‘M’ (Manual Mode), ensuring that the settings from the last taken shot remain exactly the same. This then allows your camera to dip to black in a natural way. If I’m not shooting a day to night, and I’m just looking to get a nice shot of say people moving around, or a clouds passing in a landscape I will always shoot in ‘M’ (Manual Mode). The setting I use will be dependent on what it is I’m shooting, such as if I want to shoot people moving around, I will tend to shoot at 0’‘3 shutter taking an image every second. This gives a nice flowing movement of people, not too blocky, but not to washed out, and also not too much movement between each shot.
- Intervalometer settings – How often, and how many shots you take will always depend on what you’re trying to get out of your timelapse, but the best starting point is to work out how long you’d like your finished timelapse to be. As a general rule, I tend to allow for about 10 seconds per timelapse. In the edit our editor can then choose to speed this up, or use it at the speed it was shot at. So allowing for a 10 second shot, you will need 250 images (assuming you’re editing at 25 fps, 25×10 = 250). Now you know how many images you want to take, the next step is to consider how long you want the time to lapse in your shot. If for example you’re shooting a landscape of clouds passing fairly quickly, I would normally shoot 1 frame every 2 seconds or so, creating 30 images per minute. Allowing for the 10 second rule, this means I will shot for roughly 8-9 minutes. If however, I’m wanting to show a much larger passing of time, say for instance a day to night timelapse, I will shoot with much larger intervals between each shot, perhaps say 20 seconds between each shot, which will then take roughly an hour and a half to get 10 seconds of footage. Remember, though, you’re always better off having more images than less! The editor can always speed the shot up, but can’t slow it down, so if your card and battery allow, always shoot as much as possible!
- Framing – Finally, the framing of your shot is also crucial. Consider how things will look if they are sped up. Things like flags and trees can look jarring shot on timelapse as they will tend to shake violently if they are in the foreground. Remember as well, that if you are shooting RAW, there is plenty of resolution for the editor to crop into the image, so shooting slightly wider than you otherwise would can also be a good idea as something may happen that you weren’t expecting on the edges of frame, but also allows the editor to do a move on the image if it helps it such as a zoom in, or a move from left to right.
Check out our latest timelapse showreel here, along with a couple of projects where we’ve utilised timlepase filming: https://inpmedia.comservices/film/timelapse/